Step-by-step guide to erecting scaffolding:
Byron Wood - a year ago
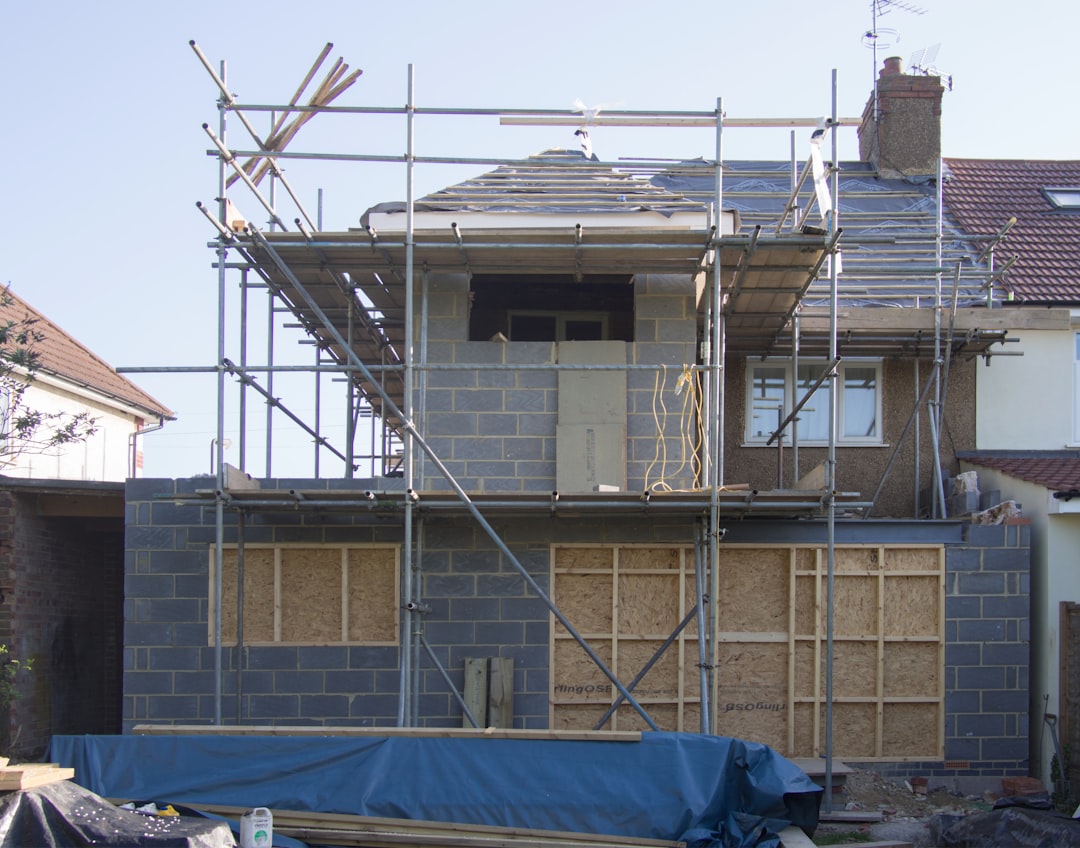
Photo by Brett Jordan on Unsplash
Erecting scaffolding requires careful planning and attention to safety to ensure a stable and secure work environment. In this guide, we will provide a step-by-step overview of the process for erecting scaffolding, including tasks such as aligning the scaffold with the building, placing and leveling sole plates, erecting and leveling bays, adding transverse and diagonal braces, and installing guardrails and toeboards. By following these steps, you can ensure that your scaffold is properly erected and ready for use.
- Clearly define and barricade off the work area. Display signage indicating that scaffolding is being erected and is not yet safe for use.
- Count and check off the various parts against a delivery docket or order to ensure you have received the correct components.
- Align a length of scaffold tube vertically with the corner of the eaves, making sure the scaffolding is in line with the building.
- Lay out the parts for the first lift in roughly the positions of the sole plates. It is easier to place ledges and transoms between two sole plates than to measure.
- Place the sole plates in position, making sure they form a firm foundation. Level the sole plates if necessary, which may require excavating the ground underneath them.
- Use the base plate to compact down the sole plate. Check that the position of the sole plates and base plates are correct. Careful preparation at this stage will ensure a good foundation for the scaffold.
- Adjust the base plates to compensate for uneven ground, making sure to leave room for adjustment later.
- Erect the first bay, starting at the highest point. Insert the base plates into the standards on both sides. Working as a team, lift the standards and insert the transom into the lowest v connectors.
- On the other end of the bay, hold the standards in place and attach the ledges. Insert the final transom linking the standard.
- Level the bay using a spirit level, adjusting it with the base plate adjustment. Repeat this process on all four sides. Check the distance from the building and move the bay if necessary, using a lever rather than lifting it manually.
- Adjust the sole plates if needed, and check that the bay is square by measuring the diagonal dimensions of the bay or aligning the planks with the transom. Hammer in pins and wedges to make adjustments.
- Install and fix off the upper transom and ledges. The first bay is now complete.
- Erect the rest of the bays for the first lift, making sure they are level and aligned with the building. If broken or damaged components are found, set them aside and inform the higher company about the faulty equipment.
- Plank out the lift to form a working platform, and erect an access bay on the non-working face of the structure. Use a larger sole plate to distribute the load if necessary.
- Assemble the upper transoms and ledges for the access bay.
- Add transverse braces to the main scaffolding to prevent it from distorting or swaying as each lift is added.
- Assemble the rest of the lifts, using diagonal braces to provide stability.
- Install the stairs system inside the access bay to provide easy access to the scaffold.
- Attach guardrails and toeboards for safety.
- Inspect the completed scaffold to ensure it is safe and secure for use.
Summary:
This is a step-by-step guide for erecting scaffolding, including tasks such as aligning the scaffold with the building, placing and leveling sole plates, erecting and leveling bays, adding transverse and diagonal braces, and installing guardrails and toeboards.
Question:
Are you a scaffolding company looking to improve your business? We've got you covered! Check out our additional resources below to see how Cloudscaff Scaffold Management Software can help:
- Explore more helpful blogs on inventory management and other industry-specific topics at https://cloudscaff.com/blogs
- Take a look at our innovative products designed to streamline your inventory management process at https://cloudscaff.com/product
- Want to see Cloudscaff in action? Book a demo with us at https://calendly.com/cloudscaff/onboarding
- Have questions or want to learn more? Contact us at info@cloudscaff.com and one of our team members will be happy to assist you.